In Part 1, we went over very basic composition concepts in regards to automotive photography. Here in Part 2, we’ll visit what photography is all about: capturing light.
Photography is Light
Remember that when you’re taking a photo, you’re capturing how light is reflecting off of everything in the photo. Light rules everything with an iron fist, and getting the proper exposure is key to a good photo. After all, if you can’t see anything, what’s the point?
Be careful with backlights
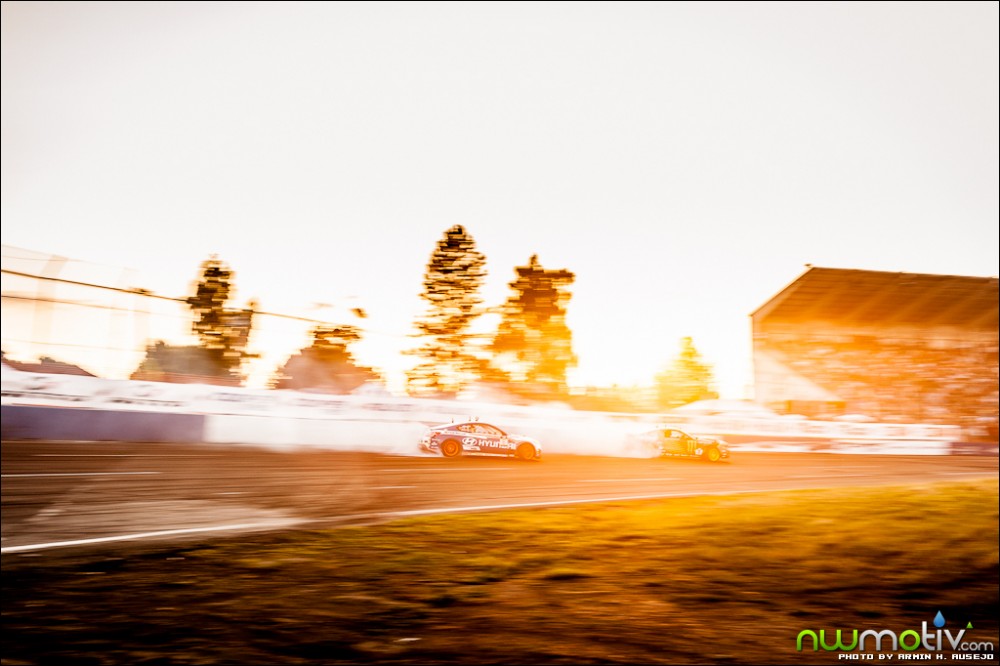
Generally speaking, you want to avoid backlights in automotive photography. Remember that typically you want your light source behind you, so that it lights up your subject. If you’re taking a photo of a car with the light source behind it, such as the sun or a streetlight, then you’ll more than likely get lens flare (the ugly green or brown series of circles that emanate from the light source in question) and your subject will not receive enough light. You can still make it work such as in the photo above, but you just have to make sure you understand what problems might arise when you capture the photo. Another option would be to use artificial lighting such as strobes, flashes, or light painting, but those create their own limitations and don’t really fall under the realm of basic tips and tricks.
High ISO / high-speed film is no substitute for a tripod
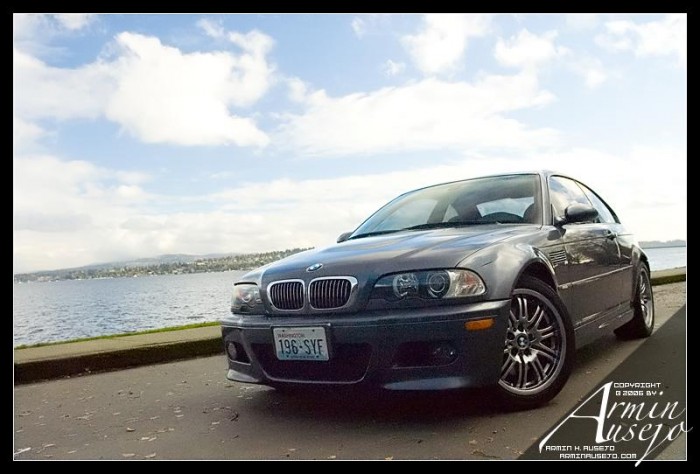
A tripod solves almost all of your focus and noise issues, whether you’re using a digital or film camera. If you don’t have a tripod, get one! It will be one of the best investments you can make. Sure, you can turn the ISO up or use high-speed film to increase your light sensitivity, but only at the expense of more noise and graininess in your photo. Ideally, you want to set your ISO to your camera’s lowest base ISO that you need in order to capture your photo. Your camera’s base ISO numbers can be found in you camera’s manual, but typically it’ll either be ISO 100 or ISO 200. Make sure you check on your ISO settings before you start shooting, otherwise you might end up with something like this:
If you’re really getting serious about your photography, make sure you don’t go cheap on your tripod. Even a slight breeze can cause a cheap, flimsy tripod to move or vibrate enough to throw off the focus of your photos. You’ll want a tripod that will properly hold the weight of your camera and lens, and is adjustable enough for your tastes. Most good and stable tripod head and leg combinations will be in the $300+ range.
Avoid midday sun
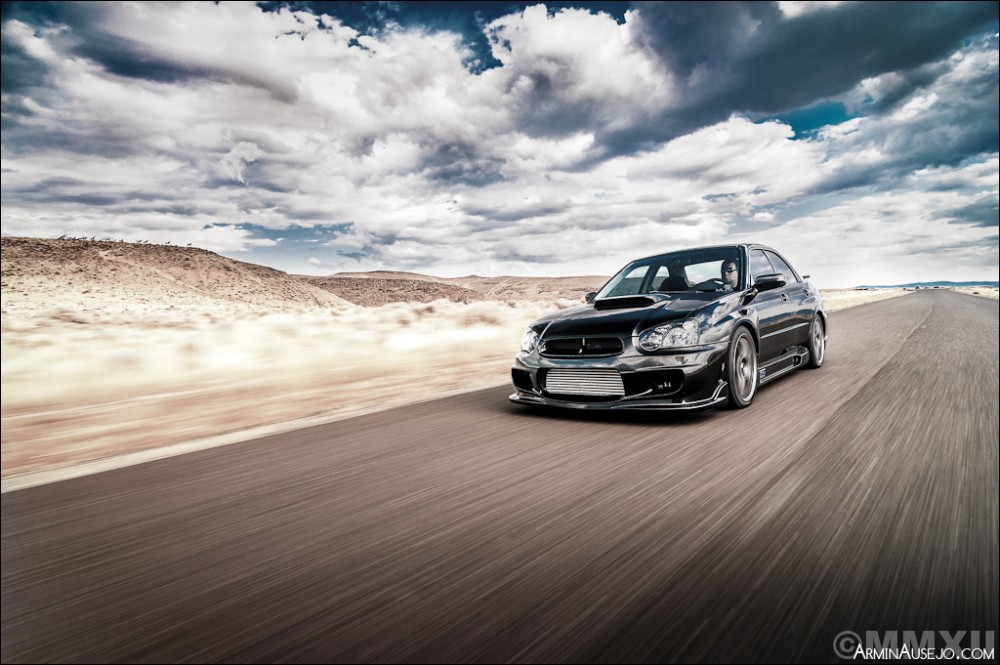
If you can help it, try not to shoot in the middle of a bright sunny day. It will mess up your colors and create rather harsh reflections, especially from the windows. The best times to shoot by far are right before sunrise and right at or just after sunset. Cloudy days can be good as well, but you need to be mindful of your contrast and saturation. An overcast day can almost be ideal for even lighting, but just about any shot pointed upward toward the sky is going to have a very overexposed, ugly background. If you’re able to get a nice balance of blue skies, clouds, and soft lighting, then you can get capture something truly awesome:
Manage your reflections
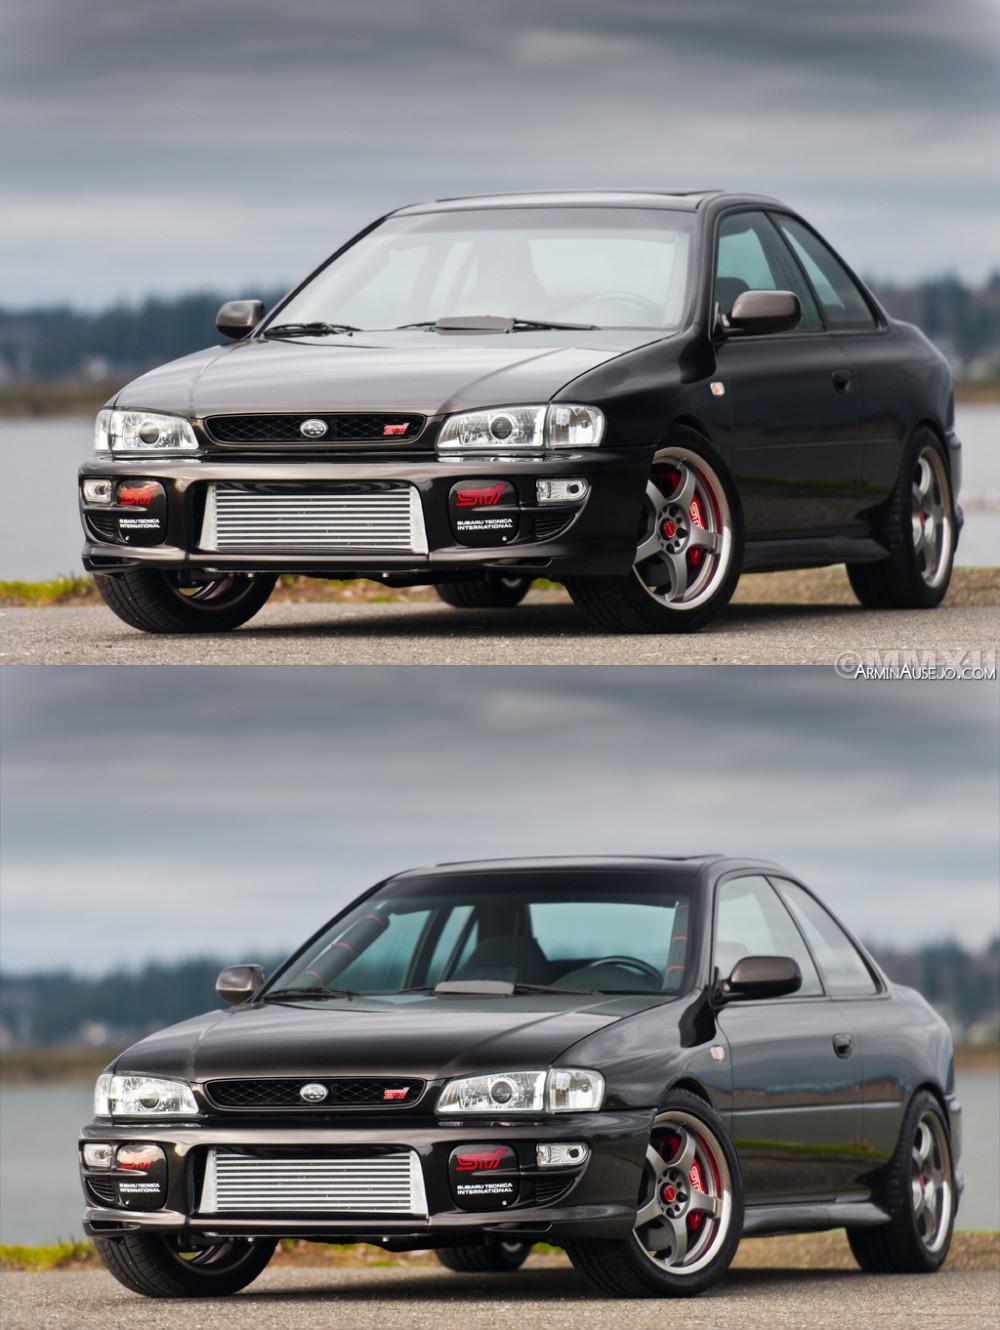
Unless the car you’re shooting has a matte paint job, just about every car you shoot is going to act like a mirror. Managing reflections is vital to good automotive photography, since the last thing you want is for glare to ruin your photo. One of the easiest ways to help manage your reflections and glare, especially those given off from windshields and other glass, is to use a circular polarizer. The front of the circular polarizer rotates so that you can set it to remove the reflections of your choice. Here’s an example of the difference that the circular polarizer makes. The first photo shows how it looks without the polarizer, and the second shows what the polarizer does to the reflections on the windshield, hood, and more:
The circular polarizer will also help reduce glare when taking interior shots. I never leave home without my circular polarizer, and it should ALWAYS be in your camera bag. The only excuse not to have one is if you have a point and shoot camera that doesn’t support one.
Don’t forget to also be mindful of reflections that can’t be controlled by a circular polarizer, such as things in the area surrounding the car. Watch out for distinct colors, lines, and even people that will show up in the paint of the car, and try your best to position the car to minimize these things.
That’s it for the basics of capturing light. In the conclusion to the basic tips and tricks to automotive photography, we’ll go over using your equipment to its fullest.


2 comments